Proof sheet: Standard left chest logo size dimensions range from 3.0 to 4.0 inches (7.5 to 10.0 cm) in width for adult t-shirts and fleece. Optimal placement positions the visual center of the logo 7.0 to 9.0 inches (18.0 to 23.0 cm) down from the highest shoulder seam point and centered over the chest vertical axis.
Left chest placement is the most widely utilized branding location in the garment decoration industry. Whether printing collegiate crests, corporate monograms, or minimalist Japanese typography, the left chest offers an understated focal point that aligns naturally with natural eye contact during personal conversation. However, translating graphics to this compact pocket-sized zone presents strict mechanical boundaries. Selecting an incorrect left chest logo size or misjudging vertical drop distances causes graphics to wrap awkwardly into underarm seams, sag below pectoral muscles, or drop into armpit folds. Understanding standardized placement formulas and decoration limits ensures chest emblems remain balanced across all garment sizes.
What Are the Standard Left Chest Logo Size Dimensions?
Standard left chest logo size dimensions span 3.0 to 4.0 inches (7.5 to 10.0 cm) in width and 1.5 to 3.5 inches (4.0 to 9.0 cm) in height for adult garments. For structured polo shirts and corporate workwear, decorators standardly scale emblems down to 2.5 to 3.5 inches wide.
Emblem aspect ratio dictates how dimensions scale on physical garments:
- Circular and Square Crests: Typically sized between 2.5 and 3.25 inches (6.5 to 8.25 cm) in diameter. Because circular and square marks carry equal mass in both axes, dimensions exceeding 3.5 inches appear visually overwhelming on the torso.
- Horizontal Rectangular Marks: Sized between 3.5 and 4.25 inches (9.0 to 11.0 cm) in width by 1.25 to 2.0 inches in height. The narrow vertical height permits a wider horizontal span without encroaching into center plackets.
- Vertical Badges and Shields: Scaled between 2.5 and 3.0 inches (6.5 to 7.5 cm) wide by 3.5 to 4.5 inches tall, maintaining slender vertical balance along the sternum line.
- Youth and Children’s Sizes: Scaled down to 2.0 to 2.75 inches (5.0 to 7.0 cm) in width to account for narrower shoulder widths and shorter torso lengths.
Stitch density and printing processes are compared in our guide on embroidery vs screen printing on apparel.
How Are Left Chest Logos Measured and Positioned?
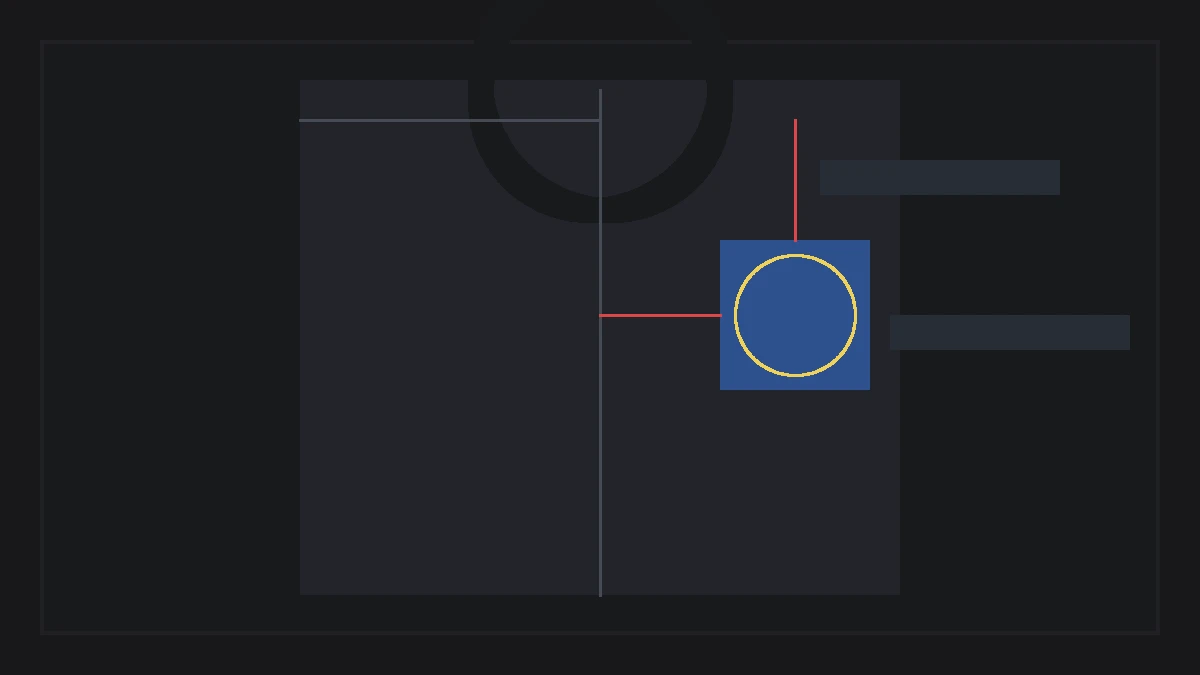
Left chest placement is measured from the intersection of the collar rib and shoulder seam (the high point shoulder). For standard adult unisex tees, mark a point 7.5 to 8.5 inches down vertically, then align the mark horizontally halfway between the center collar placket and the side seam fold.
Apparel decorators employ standardized coordinates to ensure consistent placement across varying garment styles:
- Adult Unisex T-Shirts (S to XL): Position logo center 7.5 to 8.5 inches (19 to 21.5 cm) below the shoulder seam collar junction, and 3.5 to 4.5 inches out from center vertical centerline.
- Plus Size Garments (2XL to 4XL): Shift logo center down to 8.5 to 9.5 inches (21.5 to 24 cm) below the shoulder seam, moving 4.5 to 5.5 inches out from center to compensate for broad chest spans.
- Women’s Fitted T-Shirts: Shift coordinates 0.75 to 1.0 inch higher (6.5 to 7.5 inches down) and slightly closer to center to sit comfortably above bust contours.
- Polo Shirts with Button Plackets: Align the horizontal center of the logo level with the bottom button or bottom seam of the front placket, positioning the mark 1.0 to 1.5 inches to the wearer’s left of the placket edge.
- Zip Hoodies and Outerwear: Maintain at least 1.0 inch of clear distance from central brass zippers to avoid needle breakage on embroidery hoops or uneven screen contact.
Fabric draping across outerwear is explored in our history of sukajan souvenir jackets on apparel.

What Detail and Text Limits Govern Chest Decoration?
Machine embroidery requires a minimum text height of 0.20 inches (5.0 mm) and minimum column width of 0.04 inches (1.0 mm) to prevent thread jamming. Textile screen printing allows finer detail, holding text down to 0.12 inches (3.0 mm) when printed on smooth cotton jersey.
The mechanical boundaries of thread and ink define what artwork can successfully occupy the left chest:
- Embroidery Lettering Thresholds: Standard 40-weight embroidery thread cannot render serif letterforms smaller than 4.5 mm. Tiny serifs disappear into needle holes, causing letters like “E” and “B” to knot into unreadable thread clumps.
- Underbase Registration Tolerances: Multi-color screen prints at chest width require tight registration. A 0.5-point micro-shift between color screens becomes glaringly noticeable on a three-inch emblem compared to an expansive full-back print.
- Fabric Weight Stability: Heavy 350 GSM fleece easily anchors a dense 10,000-stitch chest badge. Applying the same heavy embroidered crest to a lightweight 140 GSM combed cotton jersey pulls the fabric forward, creating unsightly collar sagging.
Understated aesthetic placement explains why modern minimalist streetwear frequently utilizes quiet chest emblems rather than sprawling chest graphics. Small chest marks create tactile presence while preserving clean garment silhouettes, establishing refined branding through deliberate restraint.
Geometric heraldry sizing is analyzed in our review of kamon Japanese family crests.
How Should Vertical Japanese Text Be Formatted at Chest Width?
Vertical Japanese text (tategaki) at the left chest should measure between 1.0 and 1.5 inches (2.5 to 4.0 cm) in width and 4.0 to 6.0 inches (10.0 to 15.0 cm) in length, positioned vertically along the pectoral muscle axis.
Formatting vertical Asian typography requires distinct compositional considerations:
- Top Anchor Point: Align the top edge of the first kanji or kana character at the standard 7.0-inch mark below the shoulder seam, allowing subsequent characters to cascade naturally down the chest.
- Uniform Em-Box Spacing: Maintain consistent square zenkaku spacing between characters. Avoid excessive vertical letter-spacing, which disconnects word units visually.
- Combining Text with Red Seal Stamps: When pairing vertical script with an artist signature seal (hankō), position the red square stamp to the bottom left of the vertical column with 0.5 inches of clear margins.
Explore broader textile processes in the Print and Stitch section.
Left Chest Dimension and Placement Matrix
The comprehensive reference matrix below details recommended logo dimensions, vertical drop measurements, and horizontal offsets across major apparel categories.
| Garment Type and Size | Recommended Width | Recommended Height | Drop from Shoulder | Offset from Center |
|---|---|---|---|---|
| Adult Unisex Tee (S to M) | 3.0 to 3.5 in (7.5 to 9 cm) | 2.0 to 3.0 in (5 to 7.5 cm) | 7.5 in (19.0 cm) | 3.5 to 4.0 in (9 to 10 cm) |
| Adult Unisex Tee (L to XL) | 3.5 to 4.0 in (9 to 10 cm) | 2.5 to 3.5 in (6.5 to 9 cm) | 8.0 in (20.5 cm) | 4.0 to 4.5 in (10 to 11.5 cm) |
| Adult Unisex Tee (2XL+) | 3.75 to 4.25 in (9.5 to 11 cm) | 2.5 to 3.5 in (6.5 to 9 cm) | 8.5 to 9.5 in (21.5 to 24 cm) | 4.5 to 5.5 in (11.5 to 14 cm) |
| Women’s Fitted Tee (S to L) | 2.75 to 3.25 in (7 to 8.25 cm) | 1.75 to 2.5 in (4.5 to 6.5 cm) | 6.5 to 7.0 in (16.5 to 18 cm) | 3.0 to 3.5 in (7.5 to 9 cm) |
| Standard Piqué Polo | 2.75 to 3.5 in (7 to 9 cm) | 1.5 to 2.75 in (4 to 7 cm) | Level with bottom placket | 1.0 to 1.5 in from placket |
| Zip Hoodie / Track Jacket | 3.0 to 3.75 in (7.5 to 9.5 cm) | 2.5 to 3.5 in (6.5 to 9 cm) | 8.0 to 8.5 in (20.5 to 21.5 cm) | 1.25 in clear from zipper |
Apparel Left Chest Placement Inspection Checklist
Garment collectors review mechanics, origins, finish, styling, timeline, and stitch density on each vintage piece before purchase. Before running commercial embroidery or screen production for left chest logos, verify these five prepress steps:
- Print 1:1 Scale Paper Proof: Cut out a paper proof of the graphic at true physical size, tape it to a sample shirt on a mannequin, and inspect placement from 5 feet away.
- Audit Text Height Above 5 mm for Stitches: Measure capital letters to confirm they meet the minimum 5.0 mm threshold for 40-weight thread embroidery.
- Verify Left vs Right Placement: Confirm film stencils or embroidery hoops mount on the wearer’s left side (right side when looking directly at the shirt front).
- Check Clearance from Collar and Placket: Ensure a minimum buffer of 1.0 inch between the outer edge of the design and button plackets or collar ribs.
- Test Stretch on Rib Knits: If printing on ribbed garments, apply stretch tests to verify thin vertical strokes do not crack under normal textile elongation.
Consistent left chest placement anchors garment lines, establishing a balanced foundation that withstands repeated laundering while presenting an orderly visual profile.
Press check
Why is apparel branding placed on the left chest instead of the right?
Left chest placement originates from historic military honors, medals, and heraldic pocket crests worn over the human heart. In modern social interactions, when individuals extend their right hand to shake hands, their left chest remains unobstructed and forward-facing, maximizing logo visibility.
How do you find the exact center point for a left chest logo?
Fold the shirt vertically along the left collar edge, then draw an imaginary horizontal line across the bottom of the armhole seam. The intersection of this vertical fold and horizontal armhole line marks the standardized optical center point for left chest decoration.
Can a left chest logo be wider than 4 inches?
Logos wider than 4 inches (10 cm) risk wrapping around the wearer’s chest into the armpit seam, especially on small or medium garment sizes. Sizing between 3.25 and 3.75 inches maintains complete frontal visibility across all body profiles.
What is the best decoration method for small left chest logos?
Embroidery is the preferred method for structured corporate apparel, polo shirts, and heavyweight fleece due to its three-dimensional tactile relief. For fine detailed linework or lightweight t-shirts under 150 GSM, water-based screen printing or DTG is superior to prevent fabric puckering.
How we researched this: industry decoration standards, embroidery hoop tolerances, and garment sizing tables were compiled from professional apparel manufacturing guidelines and SGIA production manuals. Initial structuring utilized automated drafting tools; the editor verified measurement ratios and finalized typographic prose.
Sources: SGIA Apparel Placement Guides, Tajima Embroidery Technical Standards, National Association of Decorative Apparel Educators.